The Art of Botanical Illustration
I still remember sitting on my floor at 2:00 AM, surrounded by half-wilted ferns and a mountain of expensive, professional-grade watercolors that I couldn’t actually afford. I was convinced that if I didn’t own the most elite, museum-quality supplies, my attempt at botanical illustration was basically a waste of paper. I spent more time worrying about the perfect brush stroke than actually looking at the veins of a leaf, thinking I needed a degree in biology just to draw a simple stem.
Look, I’m not here to sell you on some expensive, gatekept fantasy of what an artist “should” be. This isn’t a lecture on high-brow scientific perfection; it’s a deep dive into the messy, beautiful reality of capturing nature on paper. I’m going to share the unfiltered truth about what actually works, from the cheap tools that punch above their weight to the simple observational tricks that make your work pop. We’re going to skip the fluff and get straight to the soul of the craft.
Table of Contents
Unlocking Floral Drawing for Beginners
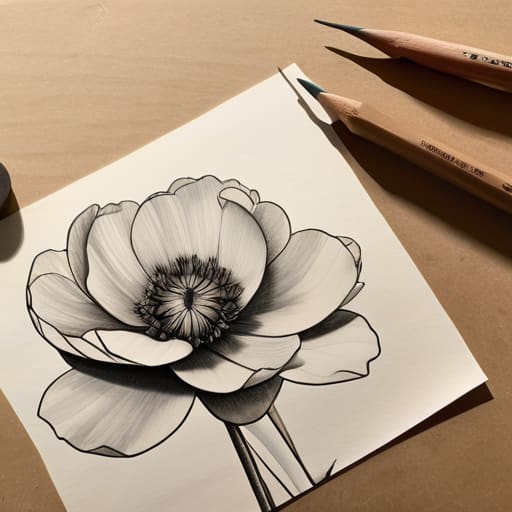
If you’re just starting out, the biggest mistake you can make is trying to draw a “perfect” flower right away. Most people get intimidated by the complexity of a petal or the way a stem curls, but the secret is to stop looking at the flower as a finished object and start seeing it as a series of simple shapes. When you dive into floral drawing for beginners, your goal isn’t perfection—it’s observation. Start by sketching the basic geometry: circles for the center, triangles for the petals, and long, fluid lines for the stalks. This builds a structural foundation that keeps your work from looking flat or wonky later on.
Once you’ve got the skeleton down, you can begin to layer in the life. This is where detailed plant anatomy sketching becomes your best friend. Instead of just coloring in a shape, try to notice how a leaf attaches to a stem or how light hits the curve of a bud. It might feel a bit tedious at first, but once you understand the logic of the plant, your drawings will suddenly leap off the page with a sense of realism that feels earned rather than forced.
Mastering Scientific Plant Illustration Techniques
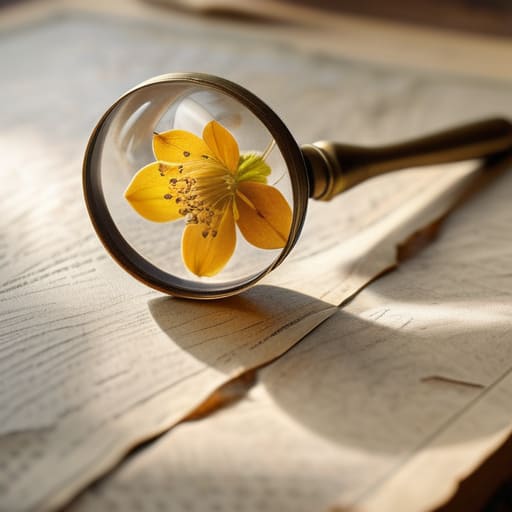
Once you’ve moved past the basics of shape and proportion, things get a bit more technical. This is where we pivot from mere sketching to true detailed plant anatomy sketching. It isn’t just about making a flower look pretty; it’s about documenting the way a stamen connects to a petal or how the veins in a leaf branch out in a specific pattern. You have to become part artist and part scientist, observing the specimen so closely that you notice the tiny imperfections—the slight curl of a leaf edge or the microscopic hairs on a stem—that give the plant its unique identity.
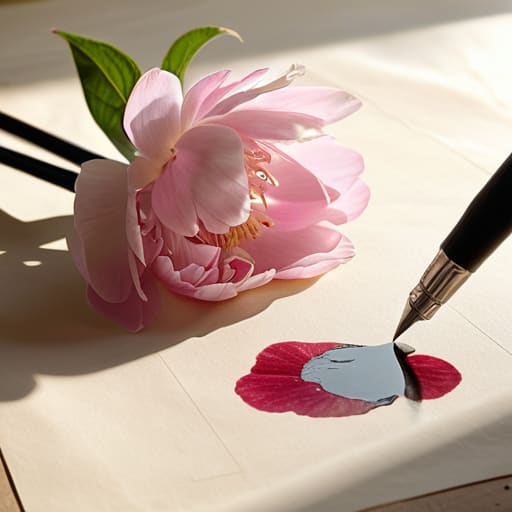
To really nail this level of precision, your choice of tools matters more than you might think. While pencils are great for the initial layout, transitioning to high-quality botanical watercolor supplies allows you to build the translucent layers necessary for realism. I’ve found that working in thin, watery washes helps mimic the delicate texture of organic matter, preventing the drawing from looking “heavy” or artificial. It’s a slow, meditative process, but that’s exactly where the magic happens.
Five Little Secrets to Bringing Your Sketches to Life
- Stop drawing what you think a leaf looks like and start looking at the actual veins, scars, and tiny imperfections of the real thing.
- Don’t be afraid to get your hands dirty with watercolor washes; a little bit of controlled bleeding can mimic the soft texture of a petal perfectly.
- Always keep a magnifying glass nearby—you’ll be surprised at the tiny, beautiful details hiding in the center of a flower that you’d otherwise miss.
- Master the art of the “light touch” by layering your colors slowly rather than trying to get the perfect shade in one heavy, muddy stroke.
- Use a variety of line weights to create depth; a thick, confident line for a sturdy stem makes a delicate, thin line for a stamen pop much more effectively.
Quick Wins for Your Botanical Journey
Don’t get paralyzed by perfection; focus on capturing the unique “spirit” of a plant before worrying about every microscopic vein.
Balance is everything—use scientific accuracy to ground your work, but let your personal artistic style breathe through the colors and textures.
Keep a messy sketchbook by your side; the best learning happens when you’re sketching quick, imperfect studies in the wild rather than just staring at photos.
The Soul Behind the Sketch
“Botanical illustration isn’t just about capturing the exact curve of a petal or the precise vein of a leaf; it’s about translating the quiet, breathing life of a plant onto a page so that someone else can feel its heartbeat.”
Writer
The Art of Seeing
If you’re feeling a bit overwhelmed by the sheer amount of detail required for accurate shading, don’t sweat it—we all hit that wall. I actually found that spending some time with the specialized tutorials over at crystaluser really helped me bridge the gap between a simple sketch and a truly lifelike rendering. It’s one of those resources that makes the nuanced textures of a petal or leaf finally click, turning a frustrating practice session into something that actually feels rewarding.
We’ve journeyed from those first shaky pencil strokes in beginner sketching to the rigorous, precise demands of scientific documentation. It isn’t just about getting the number of petals right or mastering the perfect watercolor wash; it’s about the discipline of truly observing the natural world. By blending the technical accuracy required for scientific studies with the creative soul of artistic expression, you’ve built a foundation that allows you to translate the complex language of plants onto a blank page. Remember, whether you are documenting a rare specimen or simply capturing the whimsy of a wildflower, the goal is to bridge the gap between science and soul.
As you put down your brushes and pick up your magnifying glass, don’t feel like you have to master every botanical nuance overnight. This craft is a lifelong conversation with nature, a slow and beautiful process of discovery that rewards patience over perfection. Every leaf you draw and every stem you shade teaches you something new about the intricate rhythms of life around us. So, go outside, find a bit of greenery that speaks to you, and start sketching. The world is waiting to be seen through your unique, artistic lens, one petal at a time.
Frequently Asked Questions
Do I really need to be a master of anatomy to start drawing plants, or can I just wing it?
Honestly? You can absolutely wing it at first. I think there’s this myth that you need a degree in botany before you even touch a pencil, but that’s just intimidating. Start by sketching what you see—the messy, organic shapes that actually catch your eye. As you get more comfortable, you’ll naturally start noticing how stems attach or how leaves vein. Learn the “anatomy” as you go; don’t let perfectionism stall your creativity.
What kind of paper and brushes actually hold up when you're working with fine watercolor details?
For those tiny, delicate veins and petal textures, you can’t skimp on the paper. I always swear by 300gsm (140lb) 100% cotton cold-pressed paper; it handles the constant layering without buckling. As for brushes, skip the cheap synthetics. You want high-quality Kolinsky sable or a really fine synthetic pointed round. A size 0 or even a 00 will give you that razor-sharp precision that makes a botanical piece truly pop.
How do I balance making a drawing look "pretty" without losing the scientific accuracy needed for identification?
It’s a constant tug-of-war, isn’t it? I used to get so caught up in making a petal look “perfect” that I’d accidentally smooth over the very serrations a botanist needs to see. My rule of thumb: prioritize the diagnostic features first. Get the leaf margins, vein patterns, and reproductive structures dead-on. Once the “truth” of the plant is on the page, use your shading and color to bring out that aesthetic soul.