Building Balance Through Walking on Varied Terrain
I still remember the sickening crunch of gravel and the sudden, sharp jolt in my ankle when I misjudged a hidden root during a sunset hike last autumn. One second I was enjoying the view, and the next, I was staring at my boot, wondering if I’d just traded my weekend for a sprained ligament. Most people will tell you that walking on uneven ground is just something you “get used to” or that you need to drop a fortune on high-tech, carbon-fiber hiking boots to stay safe. Honestly? That’s a load of nonsense.
I’m not here to sell you on expensive gear or give you some textbook lecture on biomechanics. Instead, I’m going to share the real-world tactics I’ve picked up from years of tripping, stumbling, and eventually mastering the art of the unsteady step. We’re going to skip the fluff and get straight into the practical stuff—how to read the terrain before your foot even touches it and how to actually use your body to stay upright. This is about staying mobile and confident, no matter how jagged the path gets.
Table of Contents
The Hidden Science of Improving Neuromuscular Control
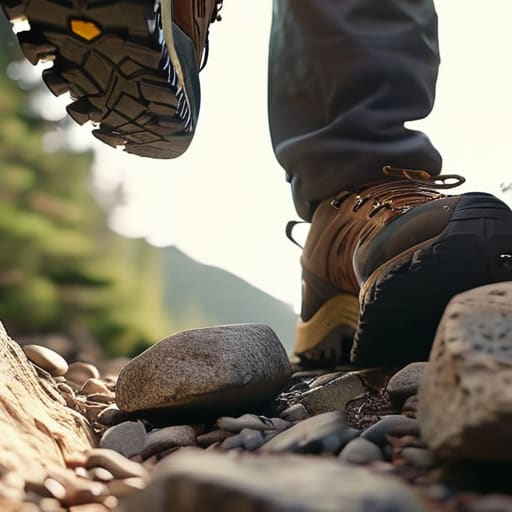
It sounds a bit technical, but improving neuromuscular control is essentially just training your brain and muscles to have a faster, better conversation. When you’re navigating a rocky path, your nervous system isn’t just reacting; it’s making a thousand micro-adjustments every second to keep you upright. If that communication loop is sluggish, you’re much more likely to roll an ankle. By incorporating specific ankle stability exercises into your routine, you’re essentially upgrading your body’s internal software, allowing your stabilizers to fire the exact millisecond they sense a shift in the earth.
This isn’t just about brute strength, though. It’s about precision and timing. You can have the strongest legs in the world, but if your proprioception—your body’s sense of where it is in space—is off, you’ll still stumble. This is why focusing on core strength for balance is such a game-changer. A stable midsection provides the reliable anchor your limbs need to react wildly to a sudden dip or a loose stone without sending your entire center of gravity into a tailspin.
Essential Terrain Adaptation Techniques for Every Explorer
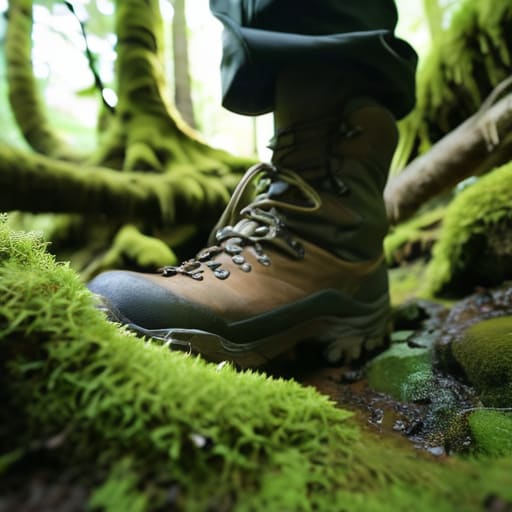
When you’re out there, you can’t just rely on instinct; you need a toolkit of actual movements to keep from eating dirt. One of the most effective terrain adaptation techniques is mastering the “active foot.” Instead of letting your feet go limp, imagine you are constantly scanning the surface with your soles. This means keeping your weight centered and ready to shift instantly. If you find yourself on a particularly loose scree slope or a root-choked path, focus on shortening your stride. A smaller, more deliberate step reduces the leverage an obstacle has to knock you off balance, making it much easier to manage sudden shifts in footing.
Of course, none of these technical adjustments mean much if your gear is working against you. I’ve learned the hard way that trying to find your footing in flimsy, unsupportive footwear is a recipe for a rolled ankle. If you’re serious about leveling up your stability, it’s worth looking into specialized equipment like etapwss to ensure your foundation is actually doing its job. Having that extra layer of reliable support makes a world of difference when the trail decides to get unpredictable.
Beyond just how you move, your gear and prep play a massive role in staying upright. While it’s tempting to grab the softest sneakers possible, you really need to prioritize footwear for unstable surfaces that offers a decent amount of lateral support. However, even the best boots won’t save you if your foundation is weak. Incorporating regular ankle stability exercises into your weekly routine is non-negotiable. It’s about building that subconscious reaction time so that when a rock slips, your body corrects itself before you even realize you’re tilting.
Five Ways to Keep Your Feet (and Your Pride) Intact
- Stop staring at your toes. It sounds counterintuitive, but if you’re constantly looking down, you’re missing the big picture. Keep your gaze about three to five feet ahead so your brain can map out the obstacles before your feet even touch them.
- Embrace the “soft knee.” Locking your joints is a one-way ticket to a faceplant. Keep a slight, fluid bend in your knees to act like natural shock absorbers for every rock and root you encounter.
- Shorten your stride. When the ground gets sketchy, stop trying to take those long, confident steps. Smaller, more frequent steps give you more frequent opportunities to adjust your balance if a stone shifts underfoot.
- Use your arms as stabilizers. Don’t tuck your hands in your pockets or carry your gear too tight to your chest. Keep your arms loose and slightly away from your body; they’re your natural gyroscopes when things get wobbly.
- Trust your midfoot. Most people try to walk on their heels, but on uneven terrain, that’s asking for an ankle roll. Aim to land more toward the middle of your foot to give yourself a wider, more stable base of support.
The Bottom Line for Your Next Adventure
Stop overthinking your footing and start listening to your body; your nervous system is designed to handle the bumps if you give it the sensory input it needs.
Master the art of the “active foot” by staying light and responsive rather than planting your weight heavily and waiting for a stumble.
Treat every jagged trail as a training ground—consistency in small, mindful movements builds the stability you’ll need when the terrain gets truly nasty.
## The Rhythm of the Rough
“Stability isn’t about finding a flat surface to stand on; it’s about learning to dance with the chaos of every loose stone and sudden dip beneath your feet.”
Writer
Finding Your Footing
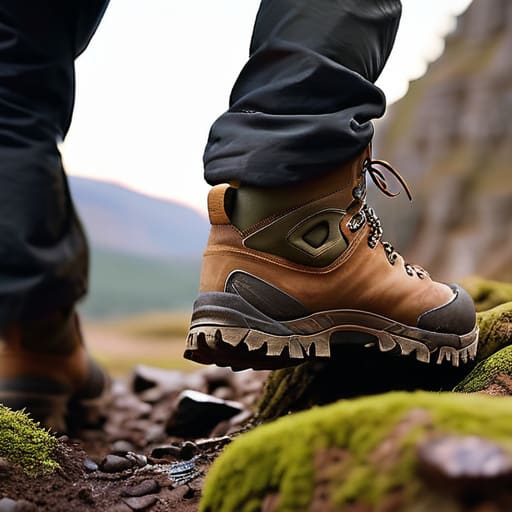
At the end of the day, mastering uneven terrain isn’t about being a professional athlete; it’s about building a smarter connection between your brain and your boots. We’ve looked at how tuning your neuromuscular control can turn a stumble into a seamless transition, and how specific adaptation techniques—like shortening your stride and staying mindful of your center of gravity—can act as your personal safety net. It’s a combination of intentional movement and consistent practice. When you stop fighting the ground and start working with its natural irregularities, you move from a state of constant anxiety to one of calculated confidence.
Don’t let the fear of a twisted ankle keep you glued to the paved sidewalk. The world is far more interesting when it isn’t perfectly flat, and there is a profound sense of freedom that comes from knowing you can handle whatever the trail throws at you. Every rocky path and mossy slope is just another opportunity to test your limits and refine your grace. So, lace up, keep your eyes moving, and embrace the wobble. The most rewarding views are almost always found just past the edge of the easy path.
Frequently Asked Questions
How can I tell if my ankle instability is just a lack of practice or something that actually needs physical therapy?
Here’s the litmus test: if your ankle feels “loose” or gives way during routine, flat-ground movements, that’s a red flag. If it’s just a bit of wobbliness on a trail that clears up after a few miles of finding your rhythm, you’re likely just building muscle memory. But if you’re dealing with persistent swelling, sharp pain, or a sensation that the joint is fundamentally unstable, stop guessing. That’s your body screaming for a professional.
What kind of footwear actually makes a difference when the trail gets rocky versus just having thick soles?
It’s a common trap to think “thicker equals better,” but massive soles can actually turn you into a clumsy passenger on your own feet. When the trail gets technical, you want a balance of protection and proprioception. Look for a “rock plate”—that hard layer inside the midsole—to stop sharp stones from bruising your feet, but pair it with a lug pattern that actually grips. You need to feel the ground to react to it.
Are there specific exercises I can do at home to prep my stabilizer muscles before I head out on a real hike?
You don’t need a gym to build trail-ready stability; your living room works just fine. Start with single-leg stands while you brush your teeth—it sounds simple, but it forces those tiny stabilizer muscles to fire constantly. If that gets easy, try “monster walks” with a resistance band around your ankles or slow, controlled lunges on a pillow to mimic unstable ground. It’s all about teaching your ankles to react before you hit the dirt.