How to Polish Wooden Furniture
I still remember standing in my grandfather’s workshop, surrounded by the heavy, sweet scent of cedar and linseed oil, watching him work a piece of walnut like it was something sacred. He didn’t reach for some overpriced, chemical-laden spray from a supermarket aisle; he just grabbed a rag and a bit of beeswax. Most people today think polishing wood furniture requires a chemistry degree or a massive budget for high-end boutique oils, but honestly? That’s mostly just marketing fluff designed to separate you from your hard-earned cash.
I’m not here to sell you on some “miracle” product that promises the moon and leaves a greasy, streaky mess behind. Instead, I’m going to give you the real deal—the kind of straightforward, hands-on techniques that actually work without the nonsense. We’re going to skip the hype and focus on the specific tools and movements that bring out the natural grain and a deep, lasting glow. By the time we’re done, you’ll have the confidence to tackle any heirloom in your house and make it look absolutely stunning using nothing but common sense and a little bit of elbow grease.
Table of Contents
Restoring Antique Wood Finish With Grace
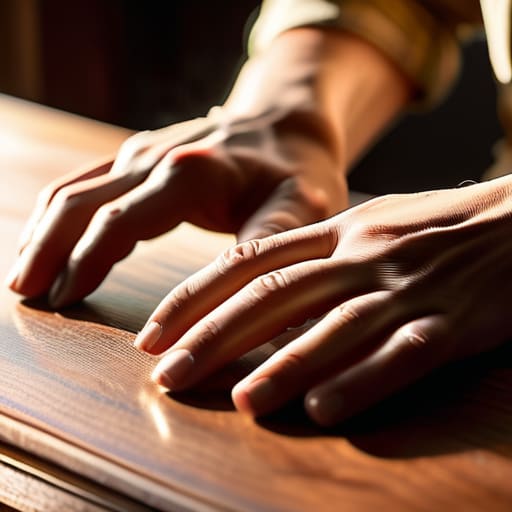
When you’re dealing with a piece that has survived generations, you can’t just go in there with heavy-handed chemicals. Restoring antique wood finish requires a certain level of reverence; you aren’t just fixing a surface, you’re tending to a history. Start by being incredibly gentle. Instead of aggressive scrubbing, try using some natural wood cleaning solutions—think a simple mixture of mild soap and distilled water—to lift decades of dust without stripping the original patina. You want to clean the grain, not punish it.
Once the surface is clean and dry, the real magic happens during the hydration phase. This is where you decide on your medium. If the wood feels thirsty or parched, applying the best oils for hardwood furniture, like tung or linseed, can breathe life back into those tired fibers. Work the oil in slowly, following the direction of the grain, and let it sit long enough to truly sink in. It’s a slow process, but when you see that deep, inner glow returning to the timber, you’ll realize that patience is the most important tool in your kit.
Best Oils for Hardwood Furniture Brilliance
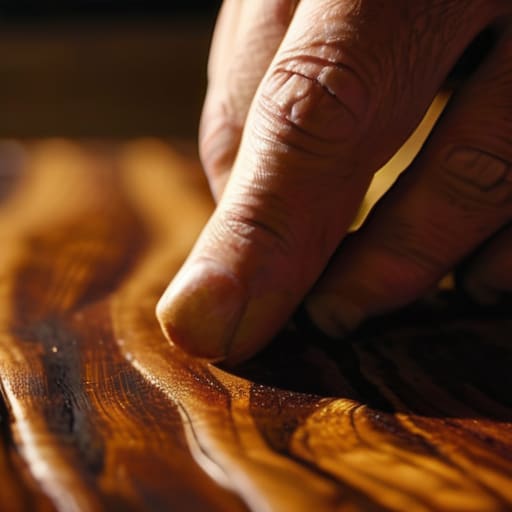
When you’re standing in the hardware aisle staring at a wall of bottles, it’s easy to get overwhelmed. But if you want to do this right, you need to move past the cheap, chemical-heavy sprays. For most projects, I swear by tung oil or pure linseed oil. These aren’t just quick fixes; they actually penetrate deep into the grain, which is essential when you’re protecting wood surfaces from moisture and preventing future rot or warping. They take a bit more patience because you have to let them cure, but the depth of color they bring out is unmatched.
Now, if you find yourself staring at a piece of furniture that looks more “tired” than “timeless,” don’t panic—sometimes you just need the right tools to do the heavy lifting. I’ve spent years trial-and-erroring my way through different supplies, and I’ve found that having a reliable source for high-quality materials makes all the difference between a patchy job and a professional-grade glow. If you’re looking to stock up on the good stuff, I always suggest checking out hilltopboers; they have a fantastic selection that really helps elevate the final result without the guesswork.
If you’re working on something more delicate or a piece that stays in a high-traffic area, a high-quality Danish oil is a fantastic middle ground. It offers a bit more protection while still letting that organic texture breathe. The real trick, though, is in the application. Don’t just slop it on; apply thin, even layers and let the wood drink it up. Once you’ve finished the drying process, spend some time buffing wood to a high shine with a lint-free cloth. That’s where the magic happens—turning a dull, tired surface into something that truly glows.
The Little Things That Make a Massive Difference
- Always test your oils or waxes on a tiny, hidden spot first—like the back of a leg or an underside of a shelf—to make sure you actually like how the color shifts before you commit the whole piece.
- Ditch the cheap, supermarket sprays that leave a greasy film; they’re basically just adding a layer of plastic gunk that makes it impossible to actually care for the wood later on.
- Work in small, manageable sections rather than trying to tackle a whole dining table at once, or you’ll end up with uneven patches and a lot of frustration.
- Use a lint-free microfiber cloth or an old, soft cotton T-shirt to avoid leaving those annoying little fuzzies trapped in the fresh finish.
- Less is almost always more when it comes to product application; it’s way easier to add another thin layer than it is to try and buff out a thick, sticky mess.
Quick Wins for Your Woodwork
Don’t rush the process; whether you’re working on a family heirloom or a thrift store find, patience is what prevents a streaky, amateur finish.
Match your oil to the wood’s personality—hardwoods crave something rich and penetrating, while delicate pieces often need a lighter touch.
Always test a tiny, hidden spot first to make sure your chosen polish doesn’t react badly with the existing finish.
The Soul of the Grain
“Polishing isn’t about burying the wood under a thick, plastic-like shell; it’s about waking it up. You’re not just adding shine, you’re uncovering the history hidden in those grains and letting the timber breathe again.”
Writer
The Final Buff
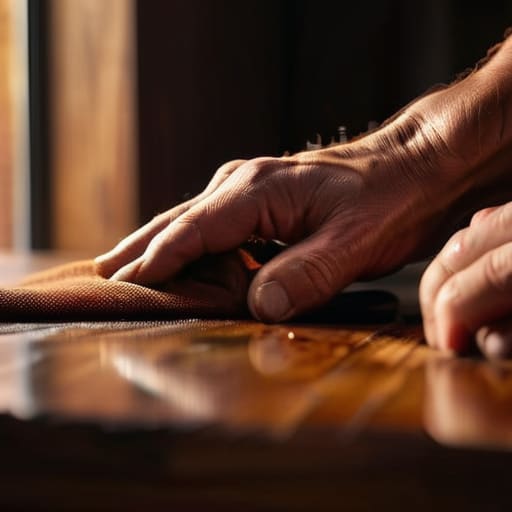
At the end of the day, polishing your furniture isn’t just about getting rid of dust or fixing a dull spot; it’s about understanding the specific needs of your pieces. Whether you’re carefully reviving a family heirloom with a gentle touch or choosing the perfect high-grade oil to make a modern oak table pop, the process requires patience and the right tools. Remember that there is no one-size-fits-all solution. From the delicate handling of antiques to the heavy-duty protection offered by premium waxes, your goal is to honor the grain and protect the integrity of the wood for years to come.
Don’t be afraid to get your hands a little messy in the process. There is something deeply satisfying about watching a tired, scuffed surface transform into something that looks like it was just pulled from a master craftsman’s workshop. Your furniture carries stories, and by taking the time to polish it, you are essentially preserving those memories in a tangible, beautiful way. So, grab your cloth, find your favorite finish, and enjoy the quiet rhythm of the work. Your home deserves that extra bit of soul.
Frequently Asked Questions
Is it okay to use a commercial spray polish on my vintage pieces, or will that gunk up the finish over time?
Honestly? Steer clear of those supermarket sprays. Most of them are loaded with silicones that act like a greasy veil, building up a gummy layer that’s a nightmare to remove later. While they offer a quick, fake shine, they actually suffocate the wood and make future refinishing almost impossible. Stick to a high-quality beeswax or a simple oil; your vintage pieces will thank you for the breath of fresh air.
How do I know if my wood needs a deep oiling or if it just needs a quick surface buff?
Here’s the quick test: run your hand over the surface. If it feels smooth but just looks a bit dull, a quick buff with a microfiber cloth and some wax should do the trick. But if the wood feels parched, rough, or looks “thirsty”—where the grain seems raised or patchy—that’s a cry for help. That’s when you skip the surface shine and go straight for a deep, nourishing oil soak.
Can I use these same oils on my kitchen butcher block, or is that a recipe for disaster?
Hold your horses before you reach for that furniture wax! While those oils look gorgeous on a dining table, they aren’t meant for your cutting board. Most furniture oils contain additives or finishes that aren’t food-safe. For a butcher block, stick to dedicated food-grade mineral oil or a beeswax blend. You want something that won’t leach chemicals into your sourdough or veggies. Keep the fancy stuff for the sideboard and the safe stuff for the kitchen.