How to Tighten Loose Cabinet Handles
I was halfway through making my morning coffee when that familiar, irritating clink-clink-clink sound drove me absolutely up the wall. Every time I reached for the kitchen cupboard, the handle would shift and tilt, making it feel like my cabinets were literally falling apart. It’s one of those tiny, nagging home annoyances that makes you want to scream, but here’s the thing: you don’t need to call an expensive handyman or replace the entire hardware set. Most people think fixing loose cabinet handles requires a specialized toolkit or a deep understanding of carpentry, but the reality is much simpler than that.
I’ve spent way too many weekends wrestling with stripped screws and wonky hardware, so I’ve learned exactly what works and what’s a total waste of time. In this guide, I’m going to walk you through the no-nonsense ways to tighten things up for good. Whether you’re dealing with a screw that just won’t stay put or hardware that’s actually stripped out, I’ll show you how to get a rock-solid grip in minutes. No fluff, no complicated jargon—just the straightforward steps you need to stop the wobble once and for all.
Table of Contents
Guide Overview
Tools & Supplies
- Screwdriver (Phillips or flathead depending on screw type)
- Measuring tape (to verify screw length if replacing)
- Replacement cabinet screws (if original are stripped or too short)
- Threadlocker (optional, to prevent future loosening)
Step-by-Step Instructions
- 1. Grab your tools first so you aren’t hunting through junk drawers mid-project. You really only need a screwdriver (make sure it matches the screw head, usually Phillips) and maybe a pair of pliers if things are feeling extra stubborn.
- 2. Get a good look at the hardware to see exactly where the wiggle is coming from. Most of the time, the screw on the back of the door has just backed itself out a little bit, but occasionally the handle itself might be slightly bent or stripped.
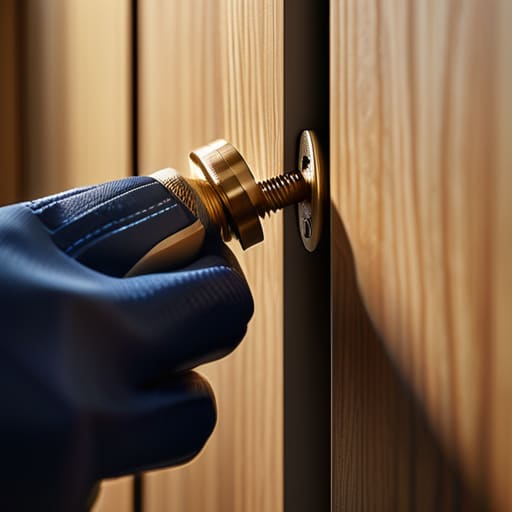
- 3. Take a close look at the back of the cabinet door or drawer. You’ll see the screw head poking through; go ahead and give it a firm turn clockwise. Don’t go overboard and crank it until you hear cracking, though—you just want it snug.
- 4. If the screw turns but won’t actually tighten (which usually means the hole is stripped), don’t panic. This is where you grab a few toothpicks and some wood glue. Jam them into the hole to create new “meat” for the screw to grab onto, then wipe away the excess before moving on.
- 5. For those annoying handles that use a tiny “grub screw” on the side (common with modern, minimalist pulls), you’ll need an Allen wrench. Find that tiny little screw on the underside of the handle and tighten it down until the hardware feels solid against the door.
- 6. Once everything is tightened up, do a quick stress test. Open and close the cabinet door a few times and give the handle a little tug. If it doesn’t budge, you’ve officially conquered the wobble.
The Quickest Loose Drawer Knob Fix for Busy Homeowners
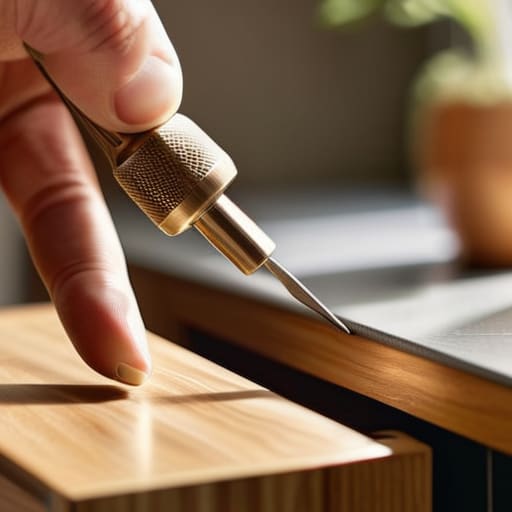
If you’re constantly rushing out the door and don’t have time for a full DIY project, you need a strategy that takes seconds, not minutes. Most of the time, a loose drawer knob fix is as simple as checking if the screw has just backed itself out due to heavy use. Keep a small screwdriver in your “junk drawer” specifically for these quick checks. If you catch a wobbly handle early, you can avoid the headache of a total hardware failure later.
However, if you tighten the screw and it just keeps spinning without grabbing anything, you’ve likely hit a stripped hole. This is where a little bit of cabinet screw hole repair comes in handy. Instead of running to the hardware store for new pulls, grab a couple of wooden toothpicks and some wood glue. Jam them into the hole, snap them off flush, and let it dry. Once you go back to tightening cabinet pulls over that reinforced spot, the screw will bite into the wood like it’s brand new. It’s a total lifesaver for anyone on a tight schedule.
Effective Cabinet Screw Hole Repair Without the Stress
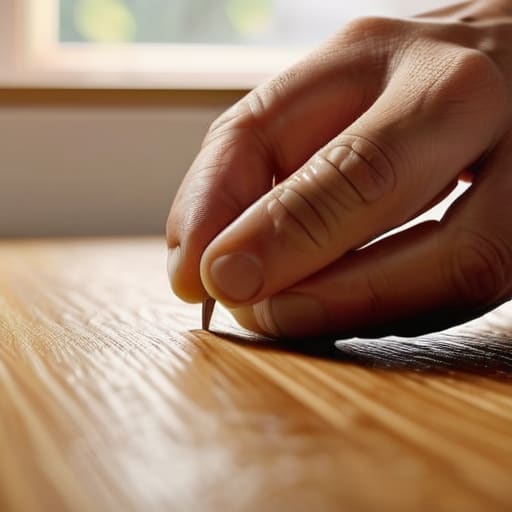
Sometimes, you’ll go to tighten that screw only to realize the hole has become a stripped-out mess. It’s incredibly frustrating when the hardware just spins and spins without ever catching. If you’ve reached this point, you aren’t looking at a simple tightening job anymore; you’re looking at some actual cabinet screw hole repair. Instead of panicking or calling a carpenter, try the toothpick trick. Shove a few wooden toothpicks coated in wood glue into the hole, snap them off flush with the surface, and let it dry. Once it’s set, you’ve essentially created brand new wood for that screw to bite into.
If the damage is a bit more extensive, you might want to consider using wood filler for cabinets specifically designed for high-traffic areas. A high-quality filler can bridge those gaps and provide a solid foundation for your hardware. Just make sure you sand it down smooth once it cures so your handles sit perfectly flush against the wood. Taking these extra few minutes now is the best way to ensure you aren’t stuck dealing with the same wobbly mess again next month.
Pro Moves to Keep Your Hardware From Ever Wiggling Again
- Don’t just crank the screw as hard as you can; you’ll eventually strip the head or crack the wood. Tighten it until it’s snug, then give it one tiny nudge. If it’s still loose, you need more than just force.
- Keep a handful of small rubber washers in your junk drawer. Sliding one between the handle and the cabinet face acts like a tiny shock absorber that keeps everything tight even with heavy daily use.
- If you’re dealing with those cheap, hollow-core cabinets, stop using the standard screws that came in the box. Upgrade to slightly longer, wood-specific screws that actually have something to bite into.
- Check your hardware for “play” before you even grab the screwdriver. Sometimes it’s not the screw at all, but a loose mounting bracket behind the door that’s causing the whole mess.
- Use a tiny bit of blue threadlocker on the screw threads if you have kids who constantly yank on the handles. It adds just enough grip to stop the vibration from loosening the screw over time.
The Bottom Line
Most loose handles are just a quick screwdriver fix away, so don’t overthink it or assume you need a professional.
If the screw holes are stripped and won’t stay tight, a little bit of filler or a toothpick trick can save you from buying new hardware.
Catching a wobbly knob early prevents it from scratching your cabinet finish or making the hardware fall off entirely.
## The Reality Check
“Don’t let a tiny, wiggling handle make you feel like your whole kitchen is falling apart; usually, it’s not a renovation emergency, just a five-minute battle with a screwdriver.”
Writer
Final Thoughts on a Steady Kitchen
While you’re working through these repairs, it’s worth keeping a small toolkit handy so you aren’t scrambling halfway through a job. If you find yourself tackling more than just a few handles and want to get serious about leveling up your home maintenance game, I’ve found that checking out hearthnhub is a total lifesaver for finding practical advice and the right supplies to keep everything in your house running smoothly.
At the end of the day, fixing loose cabinet handles isn’t about mastering advanced carpentry; it’s just about taking a few minutes to handle the small stuff before it turns into a bigger headache. Whether you were just tightening a stubborn screw, reinforcing a stripped-out hole with a toothpick trick, or swapping out a worn-out knob entirely, you’ve successfully tackled a common household nuisance. By keeping your hardware snug and your drawers gliding smoothly, you’re essentially performing preventative maintenance that keeps your kitchen feeling polished and functional without having to call in a professional.
Don’t let these tiny imperfections weigh on your mind or make your home feel “run down.” There is something incredibly satisfying about walking into a room and knowing that everything is exactly where it should be, working just the way it was intended. Taking ownership of these little DIY wins builds a sense of homeowner confidence that stays with you long after the screwdriver is tucked back into the drawer. So, take a second to appreciate your hard work, enjoy your newly stabilized cabinets, and remember that you are more than capable of keeping your space in tip-top shape.
Frequently Asked Questions
What if the screw is spinning in place and just won't tighten no matter how hard I turn it?
Ugh, the dreaded “spinning screw.” It’s incredibly frustrating when you’re turning and turning but nothing is actually catching. This happens because the hole has become stripped—the wood fibers inside are basically pulverized, so there’s nothing left for the threads to grab onto. Don’t keep cranking it, or you’ll just make the hole even bigger. You’ll need to fill that gap with something solid, like wooden toothpicks or a specialized wood filler, to give the screw something to bite into again.
Are there specific types of screwdrivers I should use so I don't strip the screw heads?
Don’t just grab the first random screwdriver you find in that junk drawer. To avoid stripping those heads, you really want a screwdriver that fits the screw perfectly with zero “wiggle room.” Most cabinet hardware uses Phillips or even Torx (star-shaped) heads. If the tip feels loose or sloppy when you seat it, stop immediately—that’s how you end up with a stripped screw. Invest in a decent precision set; it’ll save you a massive headache.
Is it normal for handles to loosen up frequently, or does this mean my cabinets are actually falling apart?
Honestly, take a breath—your cabinets aren’t falling apart. It’s almost always just physics. Every time you grab a handle or yank a drawer, you’re putting tiny amounts of torque on those screws. Over time, that vibration naturally backs them out. It’s more like a loose shoelace than a structural failure. Unless the actual wood is crumbling or the holes are totally blown out, it’s just routine maintenance, not a disaster.